


From Idea to Shelf: How a Gaming Mouse Gets Designed and Built (Akko Framer as a Case Study)
If you’ve used a mouse for thousands of hours, you’ve probably thought about it at least once: “I could design my own mouse.” Maybe you’d fix the shape you don’t like, or pick the sensor you always wanted, or make the buttons feel just right.
It’s a nice daydream. But what would it actually take to go from that idea to something sitting on a store shelf?
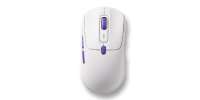
Today, we’re breaking it down step by step, using our own Framer mouse as the real example. We picked Framer for this because it wasn’t outsourced or rebadged — Akko designed it, and assembles it ourselves. So we can walk you through the entire process, start to finish, because we lived it.

Part 1: Industrial Design
1. Concept & market positioning
Before anyone sketches anything, the first question is simple: Who is this mouse for?
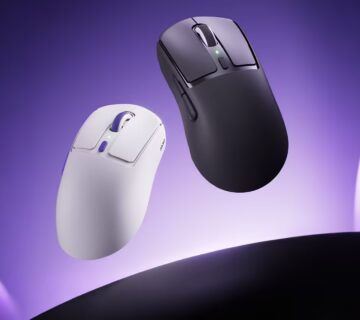
Hand size, grip style (palm, claw, or fingertip), price range, what’s already out there — all of this gets decided first. For Framer, the brief was clear from the start: medium-to-large hands, right-handed ergonomic shape, built for players who want comfort over long sessions without paying flagship prices.
Everything downstream comes from this brief. Get it wrong here, and no amount of good engineering later can fix it.
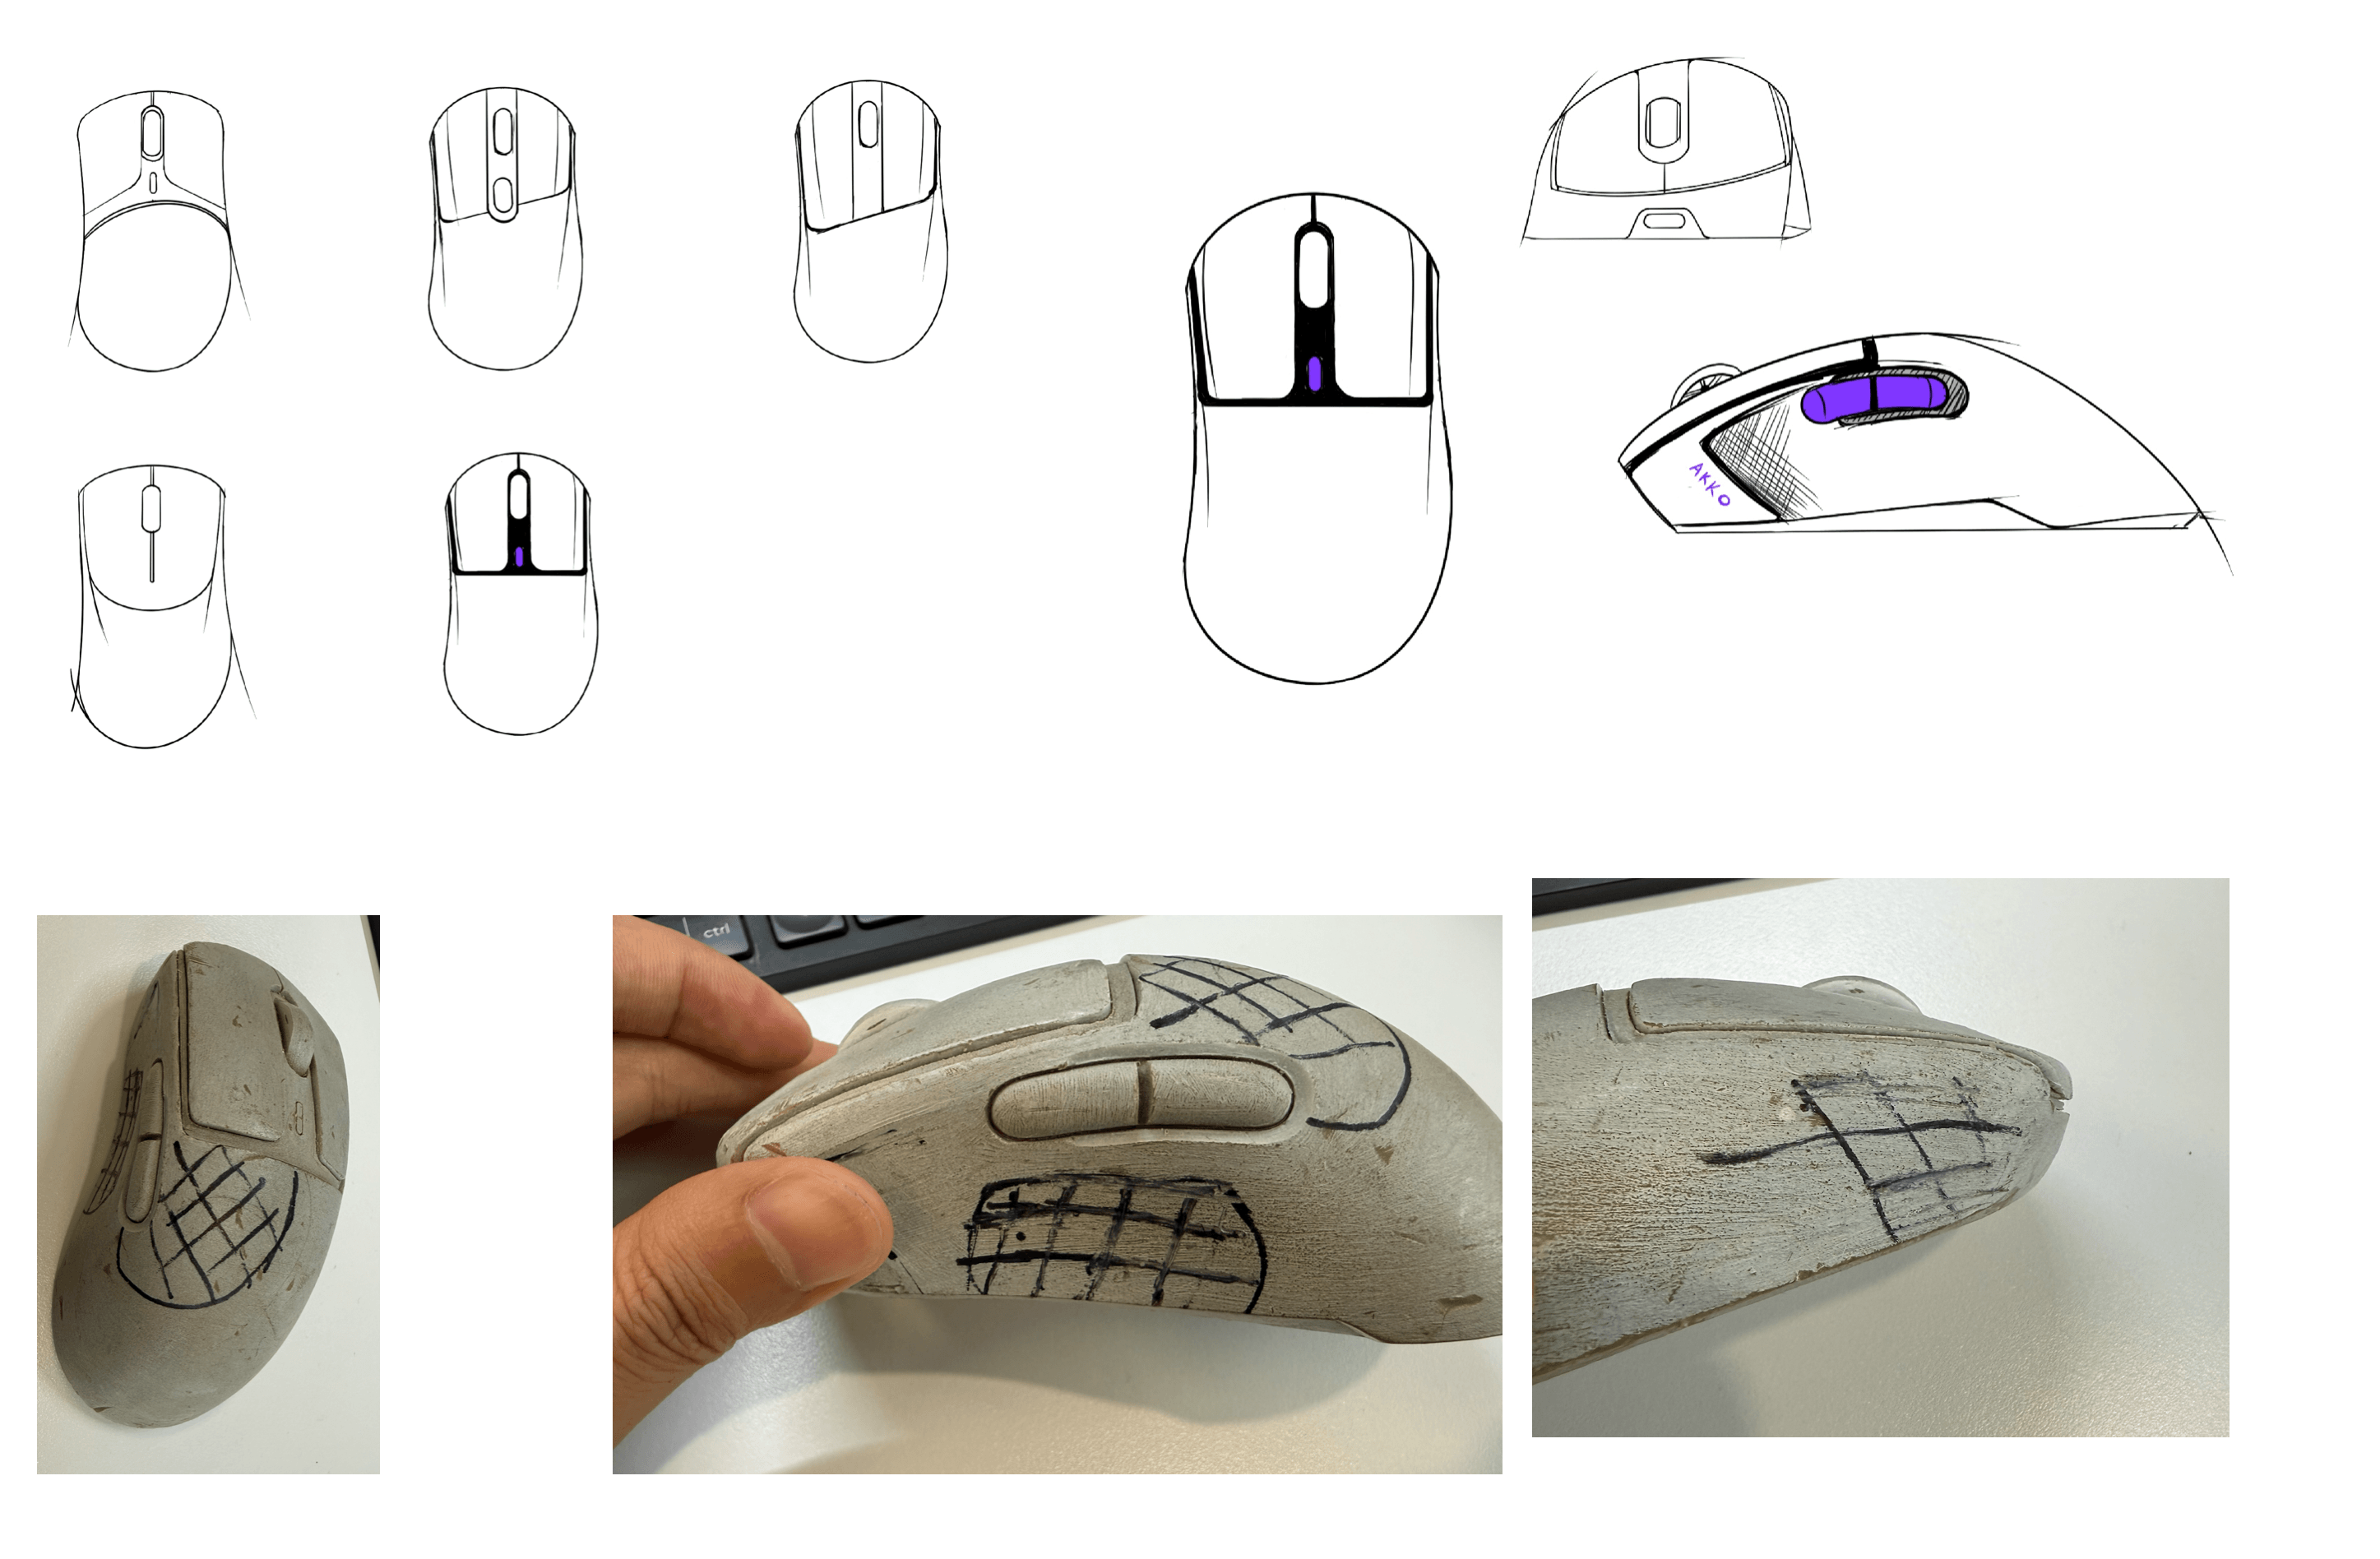
2. ID design
This is where the shape actually starts to take form. Designers sketch and build 3D models, working through questions like: symmetrical or asymmetrical shell? How much side grip taper? Where does the weight sit?
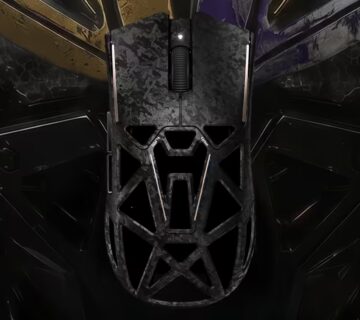
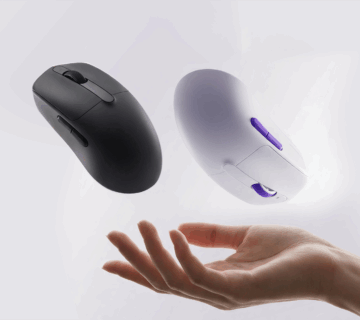
For Framer, the asymmetrical shape with the high back and contoured side grips was a deliberate choice — it shifts pressure from your fingers to your palm, which matters a lot if you’re gaming for hours at a time.

3. Structural feasibility review
A nice-looking 3D model doesn’t always survive contact with engineering reality. This step is where the team checks: Is the shell wall thick enough? Is there room for the button mechanisms to actually click? Do the PCB and battery fit inside without forcing a redesign? Are the draft angles right so the shell can even come out of a mold cleanly?
If something doesn’t pass here, it goes back to step 2. This loop can happen more than once.
4. Handfeel prototyping
Once the shape and structure are approved on paper, the team builds physical models — usually 3D-printed or CNC-machined, called 手板 in Chinese. These are real objects people can hold.
This is where a shape that looked great on screen sometimes feels wrong in the hand. Maybe the side grip digs in, or the weight feels off. Internal testers (and sometimes outside testers) hold the prototype, give feedback, and the team adjusts — shape, texture, weight — before anyone commits to the expensive part: tooling.
Functional Handfeel Testing
A good-looking, comfortable shell is only half the picture. The other half — click force, scroll wheel resistance, side button response — can’t be judged from an empty shell. For that, candidates switch, and encoders get mounted into the prototype (or a simple functional test rig), so the team can actually press, click, and scroll them.
This is where switches get compared side by side, scroll encoders get swapped to find the right amount of resistance and “step” feel, and side buttons get checked for travel and response. Both shape and function need to feel right before moving forward, because the next step — tooling — is expensive and slow to change once it’s started.
5. Mold sourcing & tooling
Once the hand-feel model is locked, it’s time to make the actual molds that will stamp out the shell in mass production. Most factories, including ours, work with experienced mold-making partners they’ve built relationships with over the years.
The mold maker designs the tooling, cuts the steel, and produces early samples — usually called T0 and T1. Each round gets measured against the approved hand-feel model to make sure nothing drifted during the mold-making process. This step alone can take weeks to months, and it’s one of the most expensive parts of the whole process, which is also why getting steps 2-4 right matters so much.
Part 2: Electronics
6. Component & platform selection
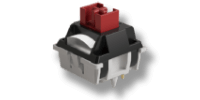
While the shell is being shaped, a parallel track is happening on the inside. The team chooses the sensor (for Framer, that’s the PAW3395/PAW3950 tier), the MCU, the switch type (mechanical or optical), the wireless chipset, and the battery.
Every choice here is a trade-off between cost, performance, and power draw. A flagship sensor sounds great, but if it drains the battery twice as fast, that might not be the right call for this particular mouse.
7. Schematic & PCB layout
With components chosen, engineers design the actual circuit — where every part sits, how signals travel, and how the board is laid out. For wireless mice, antenna placement matters a lot here too; put it in the wrong spot, and you get connectivity issues no amount of software can fix later.
8. Component sourcing & vendor qualification
Picking a sensor on paper is one thing — actually being able to buy enough of them is another. This step is about lining up approved suppliers for every component, checking lead times, and watching out for minimum order quantities. Some materials are genuinely hard to come by — certain sensors and optical switches especially (as you can imagine…) — so those often need to be purchased well ahead of the production schedule, sometimes months in advance, just to make sure they’re in hand when the line needs them.
This is also where having an in-house capability helps. Akko’s own factory can do the PCB layout and SMT assembly (the process that places and solder components onto the board) internally, rather than depending entirely on an outside vendor for that step, which gives us more control over both timeline and quality at this stage.
9. Firmware & driver development
This step actually splits into two separate pieces of work. Firmware is the low-level code that lives directly on the mouse itself — it handles things like DPI stages, polling rate switching, and how the onboard profiles behave. Driver software is the companion app on your computer, which needs its own UI design on top of the actual functionality — things like DPI settings, macro setup, and button remapping all need an interface that’s actually easy to use, not just code that works.
Both pieces are developed in parallel with hardware testing, since they constantly inform each other. A hardware limitation might require a firmware workaround, and a firmware decision might shape what the driver UI even needs to expose to the user.
If this is your first time building a mouse and you don’t have firmware experience in-house, it’s worth knowing you don’t have to build everything from scratch — there are external reference solutions and open-source firmware projects you can start from instead of starting blank.

10. Functional & stability testing
Before anything goes further, the mouse needs to prove it actually works, reliably, over and over. This includes click latency testing, checking for double-click or chatter issues, drop tests, button lifecycle testing (rated for millions of clicks), and wireless interference and battery life testing across every connectivity mode — 2.4G, Bluetooth, and wired.
Part 3: Pre-Production
11. Engineering Validation Test (EVT) build
With near-final tooling and near-final electronics, the team builds a small batch — not by hand this time, but close to how it’ll actually be produced. This catches structural or electronic problems before anyone commits to full mass tooling, which is much harder and more expensive to change later.
12. Design Validation Test (DVT) / trial production
This is a bigger pilot run, using production-intent tooling and the actual assembly line. The goal here is different from EVT: it’s not just “does the design work,” it’s “does the design hold up when built at real manufacturing scale, by the actual line, not just by skilled prototype builders.”
13. User/internal feedback loop
The DVT batch goes into the hands of internal testers, and sometimes a small group of outside community testers. This is the last realistic chance to catch anything — shape tweaks, click force adjustments, firmware defaults — before the design is frozen for mass production.
Part 4: Mass Production
14. Finalizing the BOM
BOM stands for Bill of Materials — basically, the complete recipe for the product. Every component spec, every supplier, every revision gets locked at this point. This matters because once mass production starts, you don’t want anything shifting mid-run; even a small unplanned change can cause inconsistency across units.
15. Factory/assembly line decision
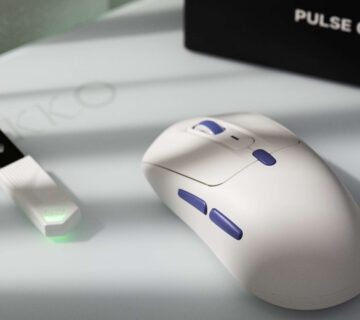
A lot of brands in this space outsource design, tooling, and assembly entirely to third parties. Akko does this differently — we have our own mass production capability and independent design team, and Framer specifically is assembled on our own line, not handed off to an outside factory. That means more direct control over how the final product actually comes together.
16. Production scheduling & capacity planning
Mold cycle times, component lead times, and assembly line capacity all need to line up for a product to actually ship on time. This is the unglamorous logistics work that happens behind the scenes — but if it’s off, everything downstream slips with it.
Part 5: Quality Control
17. Incoming Quality Control (IQC)
Before any component touches the assembly line, it gets inspected against spec — sensors, switches, shells, all of it. Catching a bad batch of parts here is far cheaper than catching it after assembly.
18. In-process QC
Quality checks don’t just happen at the very end. During assembly, the line checks things like solder joints, button feel, and shell fitment as units move through production — not just the finished product.
19. Final/Outgoing Quality Control (OQC)
Before anything ships, every unit goes through full functional testing, a cosmetic inspection, and a packaging check. This is the last gate before a mouse leaves the factory.
20. Post-launch quality feedback loop
The process doesn’t really end at shipping. RMA and warranty data, plus feedback from the community after launch, feed back into the next revision or the next product. If something keeps coming up, that’s a signal for what to fix next time.
Why This Matters to You as a Buyer
Reading through all twenty steps, it’s easy to see why a mouse takes months to go from idea to shelf — concept, shape, structure, hand-feel, tooling, electronics, two rounds of pilot production, mass production, and four separate stages of quality checks, all before a single unit reaches a customer.
We wanted to walk through this not to brag, but because we think it’s worth knowing what actually goes into the thing sitting under your hand for hours every day. And the fact that Framer is assembled on our own line, not handed off to a third party, isn’t just a manufacturing detail — it means we have direct control over consistency at every one of these steps, rather than hoping an outside factory gets it right.
Next time you pick up a mouse, hopefully, this gives you a better sense of everything that happened before it ever reached you.